
Thanksgiving week means a lot of RVers on the road: a night at the family’s place, a stop at a park on the way, maybe a driveway or a gravel lot. Every one of those stops starts the same way, with a rig that needs to stay put. Here’s a simple routine for chocking it right every time.
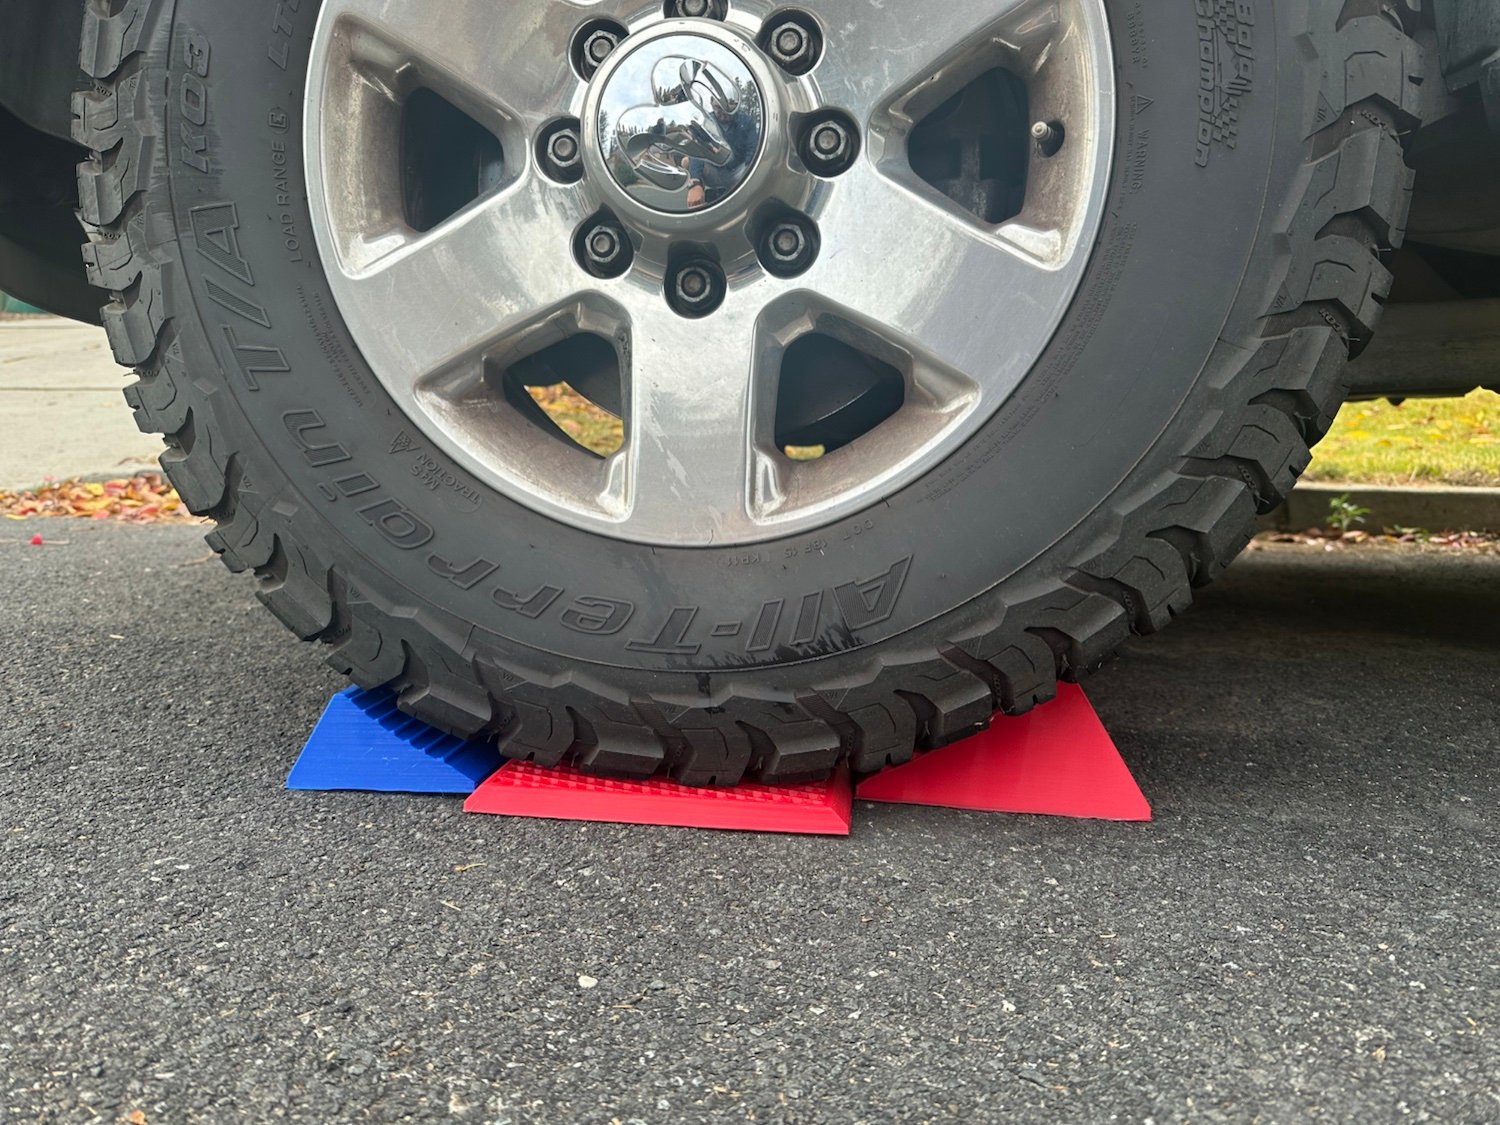
Two chocks are good. Four is better.
The Drive-ON 4-Chock Kit gives you a chock on both sides of the tire, on both sides of the rig:
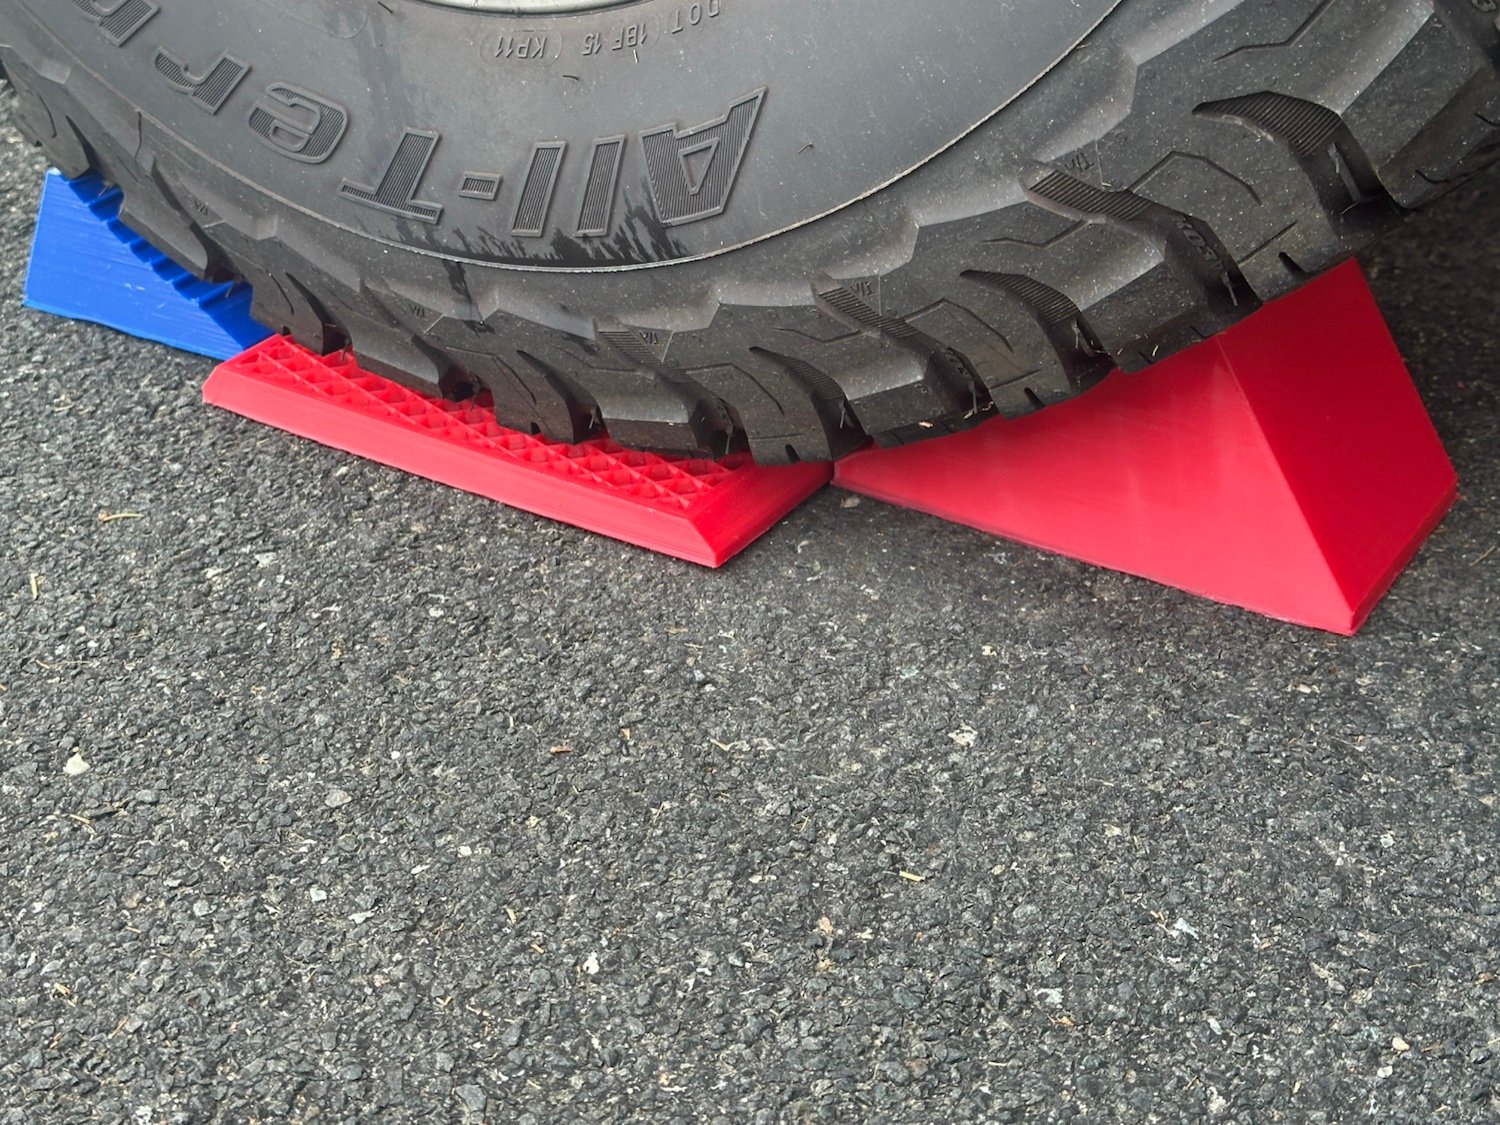
- Two red rear RCHK2 stop chocks. These are the stops. You roll onto the pad and the red chock stops the tire.
- Two blue front FCHK2 chocks. These go in front once you’re parked, so the tire is held front and back.
- 3D-printed PETG, the same material as the rest of the Drive-ON system.
It’s $89 for the set of four.
The every-stop routine
This is the same order shown on our Installation page:
- Line up the rig.
- Lay the tire pads.
- Set the red back-up stops, left and right.
- Back on until the tire stops on the red chock.
- Set the blue front chocks.
- Put a 10″ base under each stabilizer, then lower.
Tongue trailer? Place the red/white/blue tongue stack on firm ground under the tongue jack and lower the jack onto it. Always check that everything is stable before anyone goes in or out.
Packing list for a holiday trip
If you’re filling in what’s missing before you leave, these are the pieces that go with the chocks:
- Drive-ON 4-Chock Kit — $89
- 1″ Tire Protector (TP1) — $25 each, one per tire
- Heavy Duty Tire Protectors, set of 4 — $100, built for Class A motorhomes, 5th wheels and trailers
- 10″ Round Stabilizer Pads, set of 4 — $75
- Or a full RIG Kit: 5th Wheel $250, Tongue Trailer $290, MotorHome $300
Shopping for an RVer?
A chock kit is an easy gift for the RVer who already has everything but still digs blocks out of the bay at every stop. Not sure what fits their rig? Our Order Here page asks a few questions and builds the right Drive-ON set-up kit.
Shop the Drive-ON 4-Chock Kit →
Questions? Email RVSetRite@gmail.com or call 509.879.9699. Ships from Spokane, WA.
Leave a Reply